Halloween & Christmas Clothespin Puppets: 40 Printable Characters to Color and Make
Turn a simple wooden clothespin into a playful holiday puppet! These Halloween and Christmas clothespin puppet templates invite kids to color, cut, and create characters with mouths that open when they squeeze the clip.
With friendly ghosts, festive elves, winter animals, and more, this printable collection makes a fun craft for classrooms, holiday parties, and creative afternoons at home.
What’s Included?
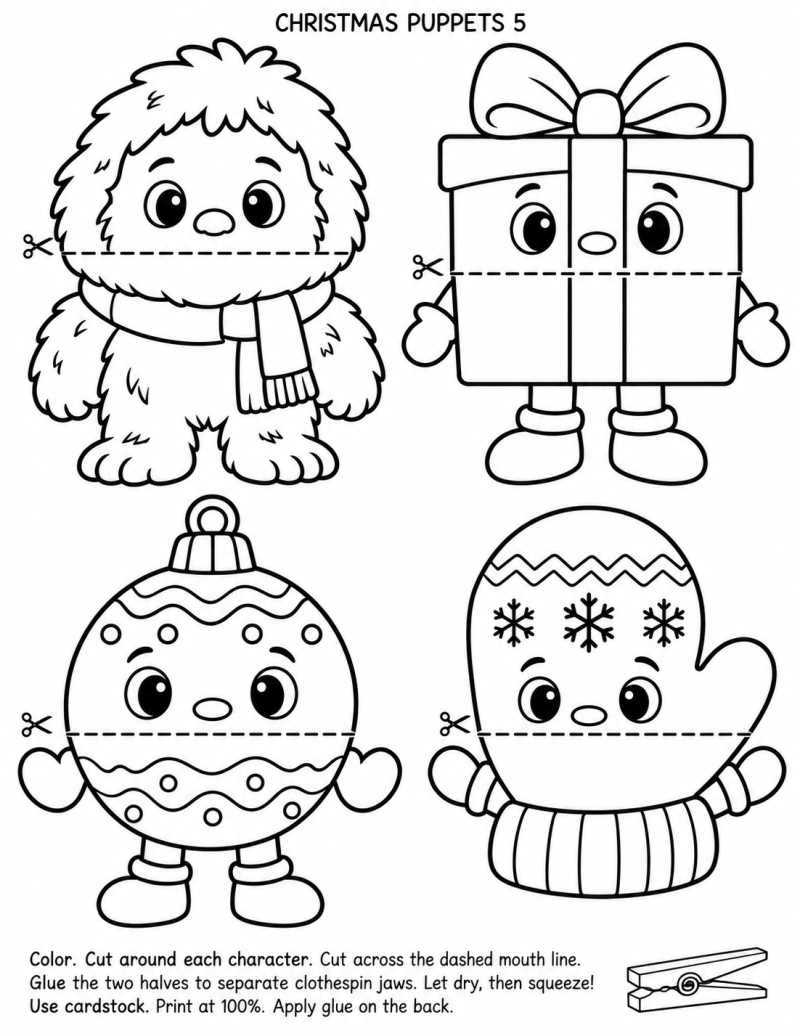
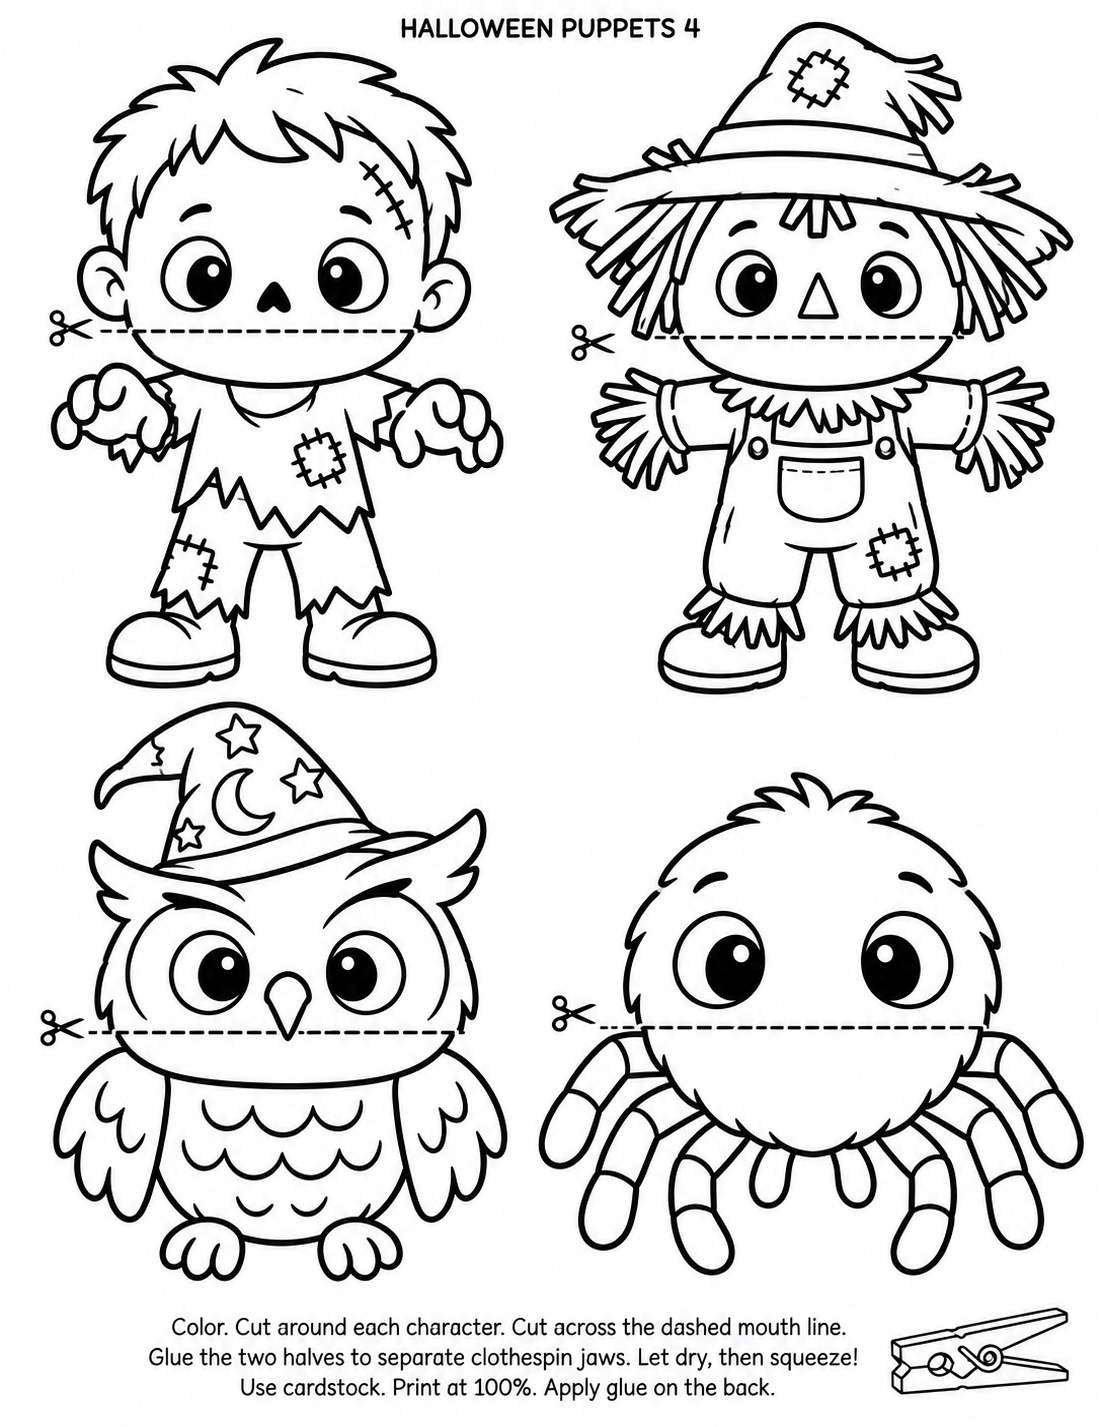
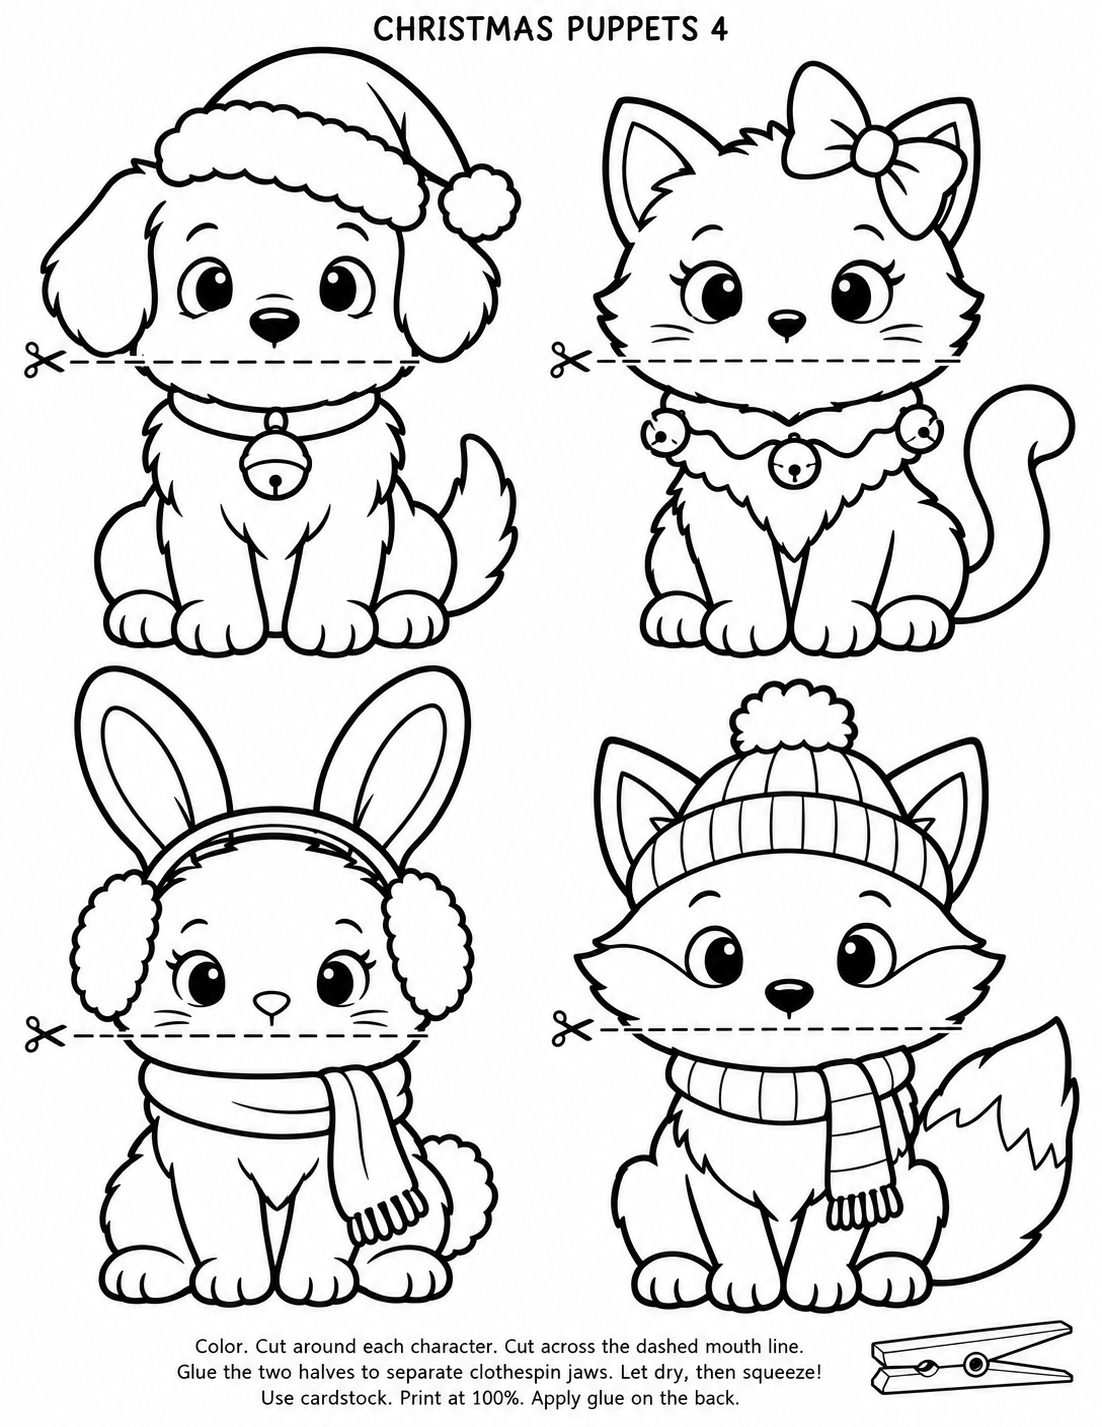
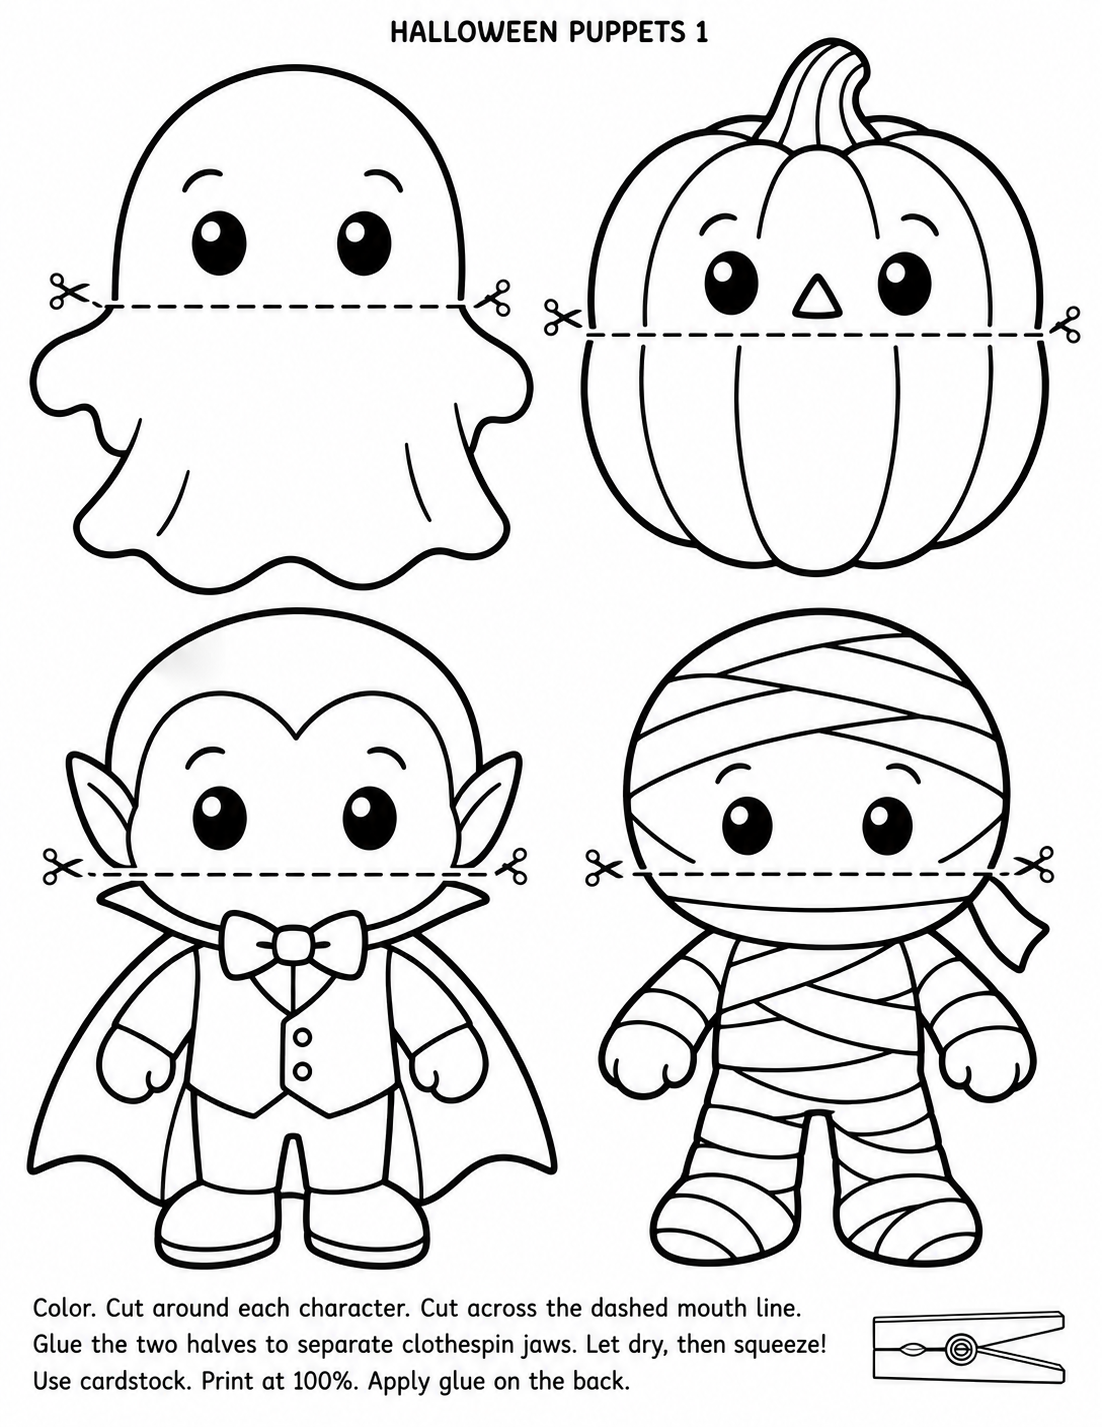
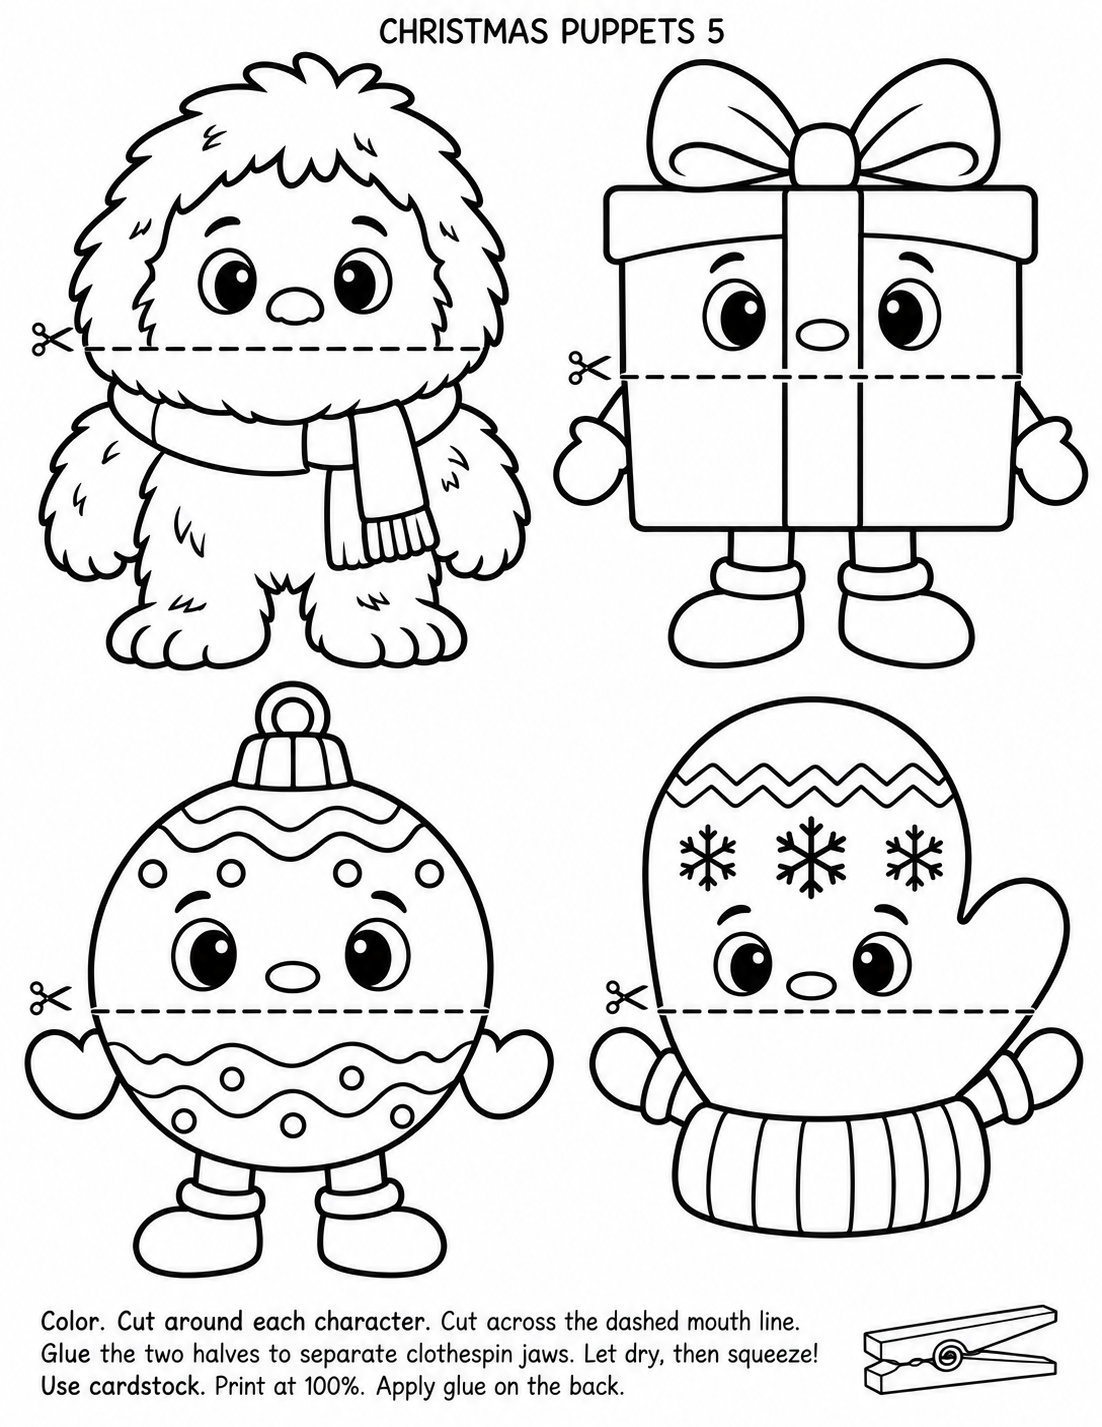
The collection contains 10 black-and-white printable pages with four different characters on each page—40 character designs altogether.
- 5 Halloween pages: ghosts, pumpkins, witches, vampires, bats, monsters, and other friendly spooky characters.
- 5 Christmas pages: Santa, Mrs. Claus, elves, reindeer, snowmen, gingerbread characters, winter animals, and festive surprises.
Each page uses a US Letter layout, with four characters arranged in a 2 × 2 grid. Dashed mouth lines show where to separate the two moving pieces, and short English instructions appear at the bottom.
Supplies You’ll Need
- Printed puppet templates
- White cardstock
- Crayons, colored pencils, or markers
- Scissors
- Wooden spring clothespins
- Craft glue suitable for paper and wood
Cardstock helps the puppets hold their shape during play. An adult should help younger children with cutting and assembly.
How to Make Your Clothespin Puppets
1. Print and Color
Print your chosen page on US Letter cardstock. Choose Actual Size or 100% in your printer settings.
Let children color their characters before cutting them out.
2. Cut Out the Characters
Cut around each character’s outer outline. Then cut all the way across the dashed mouth line to separate the character into an upper and a lower piece.
3. Position the Clothespin
Lay a clothespin horizontally behind the paper character, with its gripping jaws pointing toward the character and its handles extending out to one side.
With the clothespin closed, line up the two paper pieces so the mouth edges meet.
4. Glue Each Piece Separately
Glue the upper paper piece to the side of the upper clothespin jaw. Glue the lower piece to the side of the lower jaw.
Keep glue away from the gap between the jaws and the spring. Each paper piece needs to move with its own jaw.
5. Let Dry and Play
Allow the glue to dry fully. Squeeze the clothespin handles to open the puppet’s mouth, then release them to close it!
Try assembling one puppet first to check the placement before making the rest.
Fun Ways to Use the Puppets
Holiday Storytelling
Choose two or three characters and invent a short story. What happens when a friendly vampire meets a Christmas elf?
Classroom Puppet Theater
Use a decorated shoebox as a small stage. Children can take turns introducing their characters and performing short scenes.
Speaking and Vocabulary Practice
Give each puppet a name, a favorite food, and a holiday wish. Encourage children to speak in their puppet’s voice or ask a partner’s character questions.
Holiday Craft Stations
Set out printed pages, coloring supplies, and clothespins for a Halloween or Christmas craft table. Children can choose a character and personalize it.
A Creative Activity for Little Hands
Coloring, cutting, aligning the paper pieces, and squeezing the clothespin give children opportunities to practice hand control and coordination. Puppet play also encourages conversation, imaginative storytelling, and taking turns.
The templates are a good starting point for children ages 4–8, with adult support according to each child’s cutting and crafting skills.
Choose Your Favorite Holiday Characters
Make a spooky Halloween cast, a cheerful Christmas crew, or mix both themes for a silly holiday adventure. With 40 printable characters across 10 pages, children have plenty of choices for coloring, crafting, and pretend play!