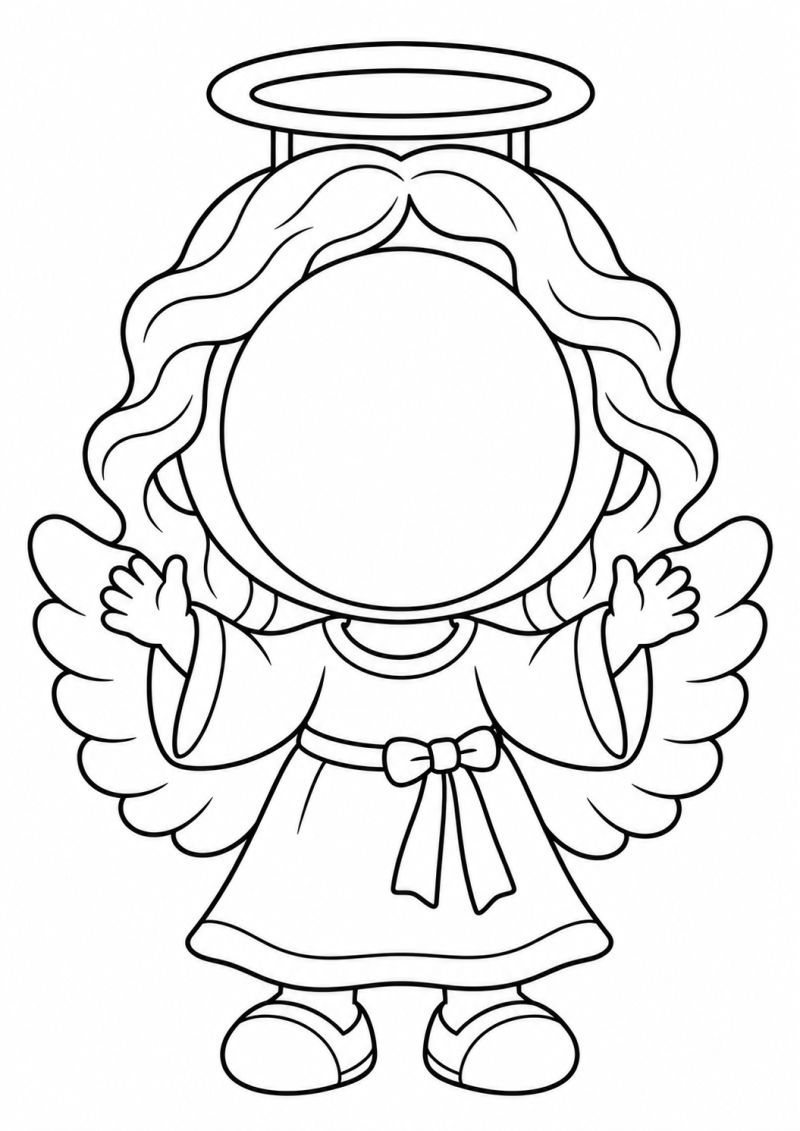
10 Christmas Photo Crafts for Kids: Color, Cut, and Add Your Photo!
Turn your little learners into Santa, a reindeer, or a cheerful Christmas elf! These Christmas photo crafts for kids combine coloring, cutting, and photo fun in one festive activity.
Each template features a Christmas character with a large blank space for a child’s face. Children can color their chosen character, cut it out, and add a photograph to create a personalized holiday decoration.
Display the finished crafts on classroom windows, bulletin boards, or walls—or send them home as Christmas keepsakes for families.
What’s Included?
This collection includes 10 different black-and-white designs, each on a separate A4 portrait page.
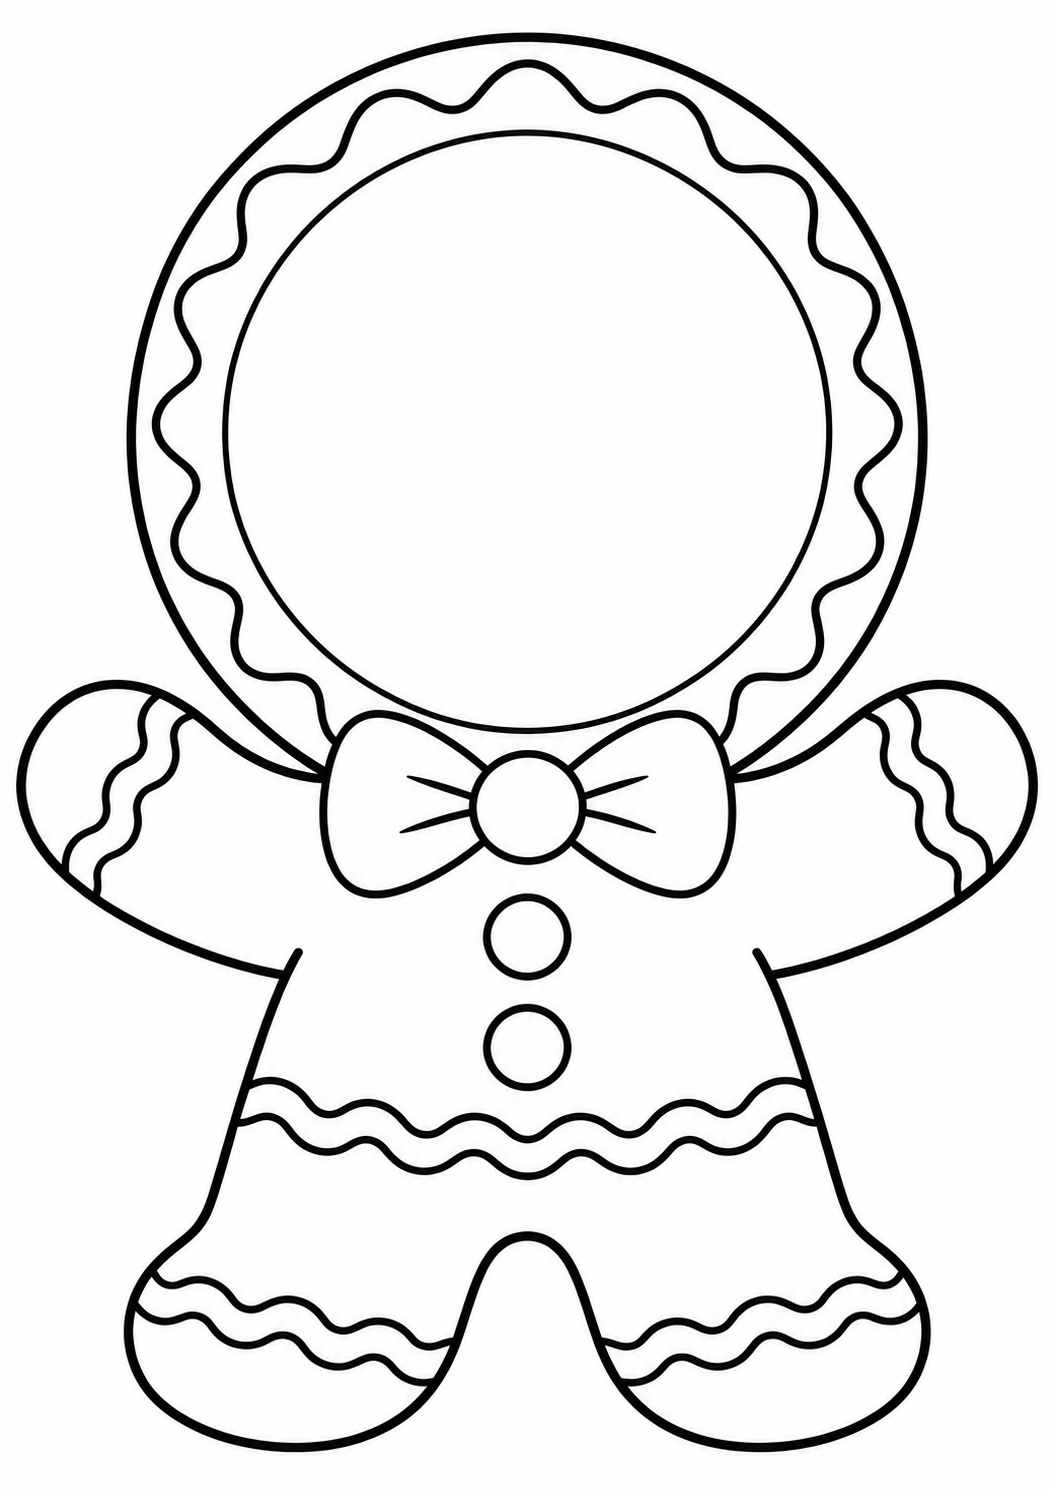
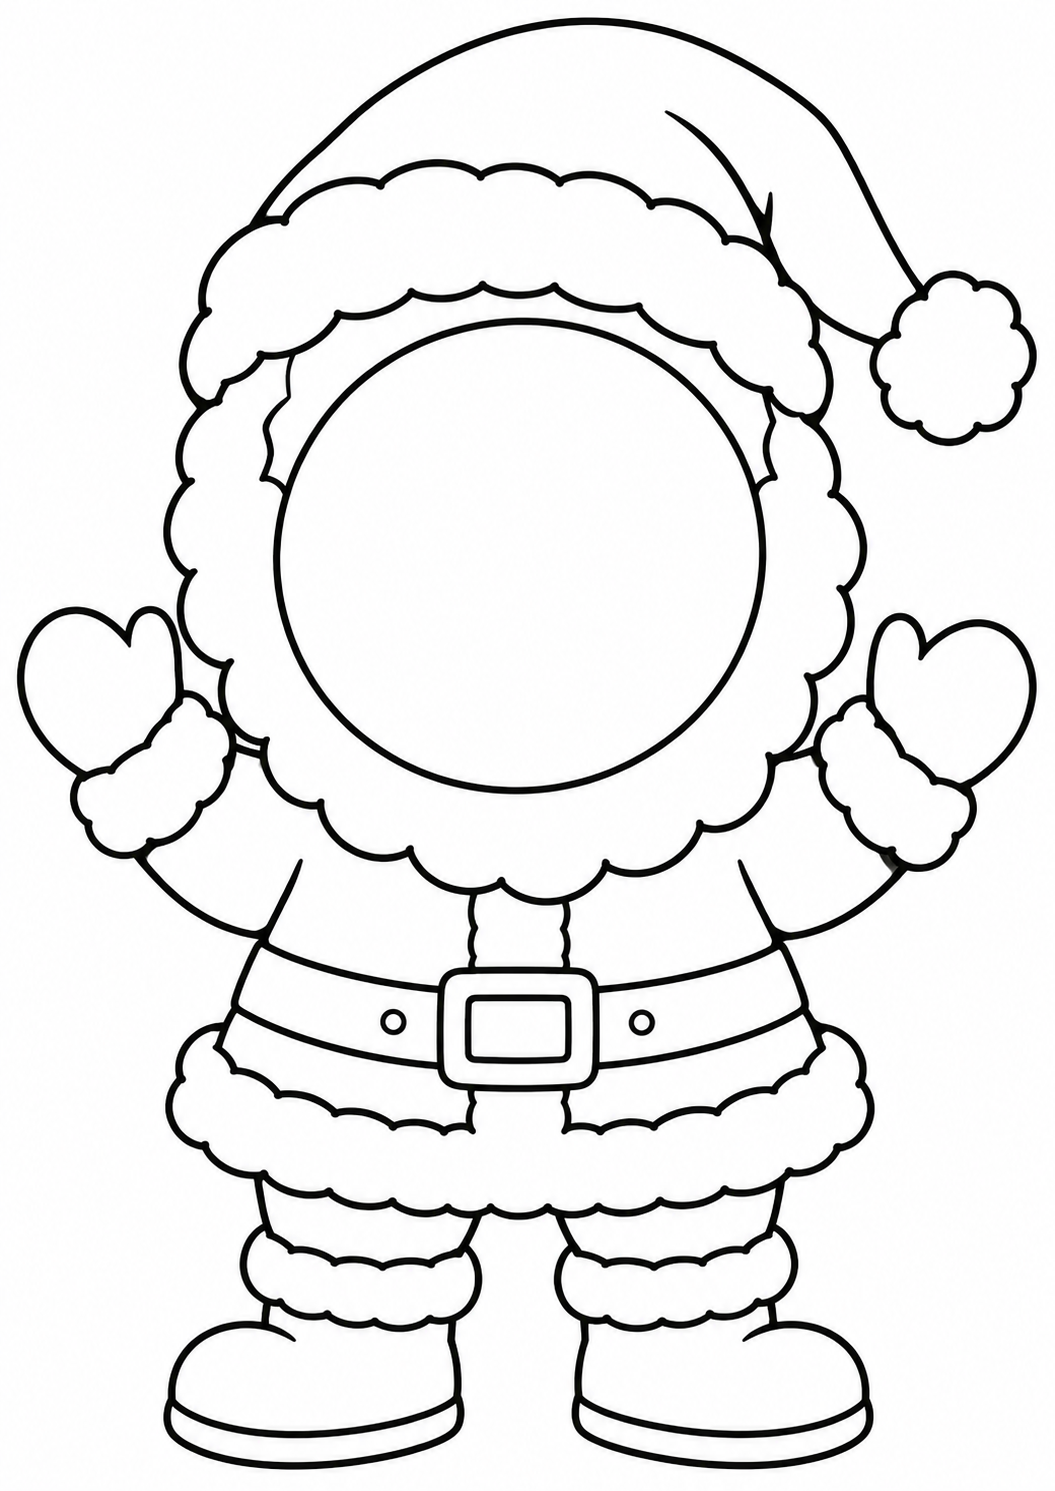
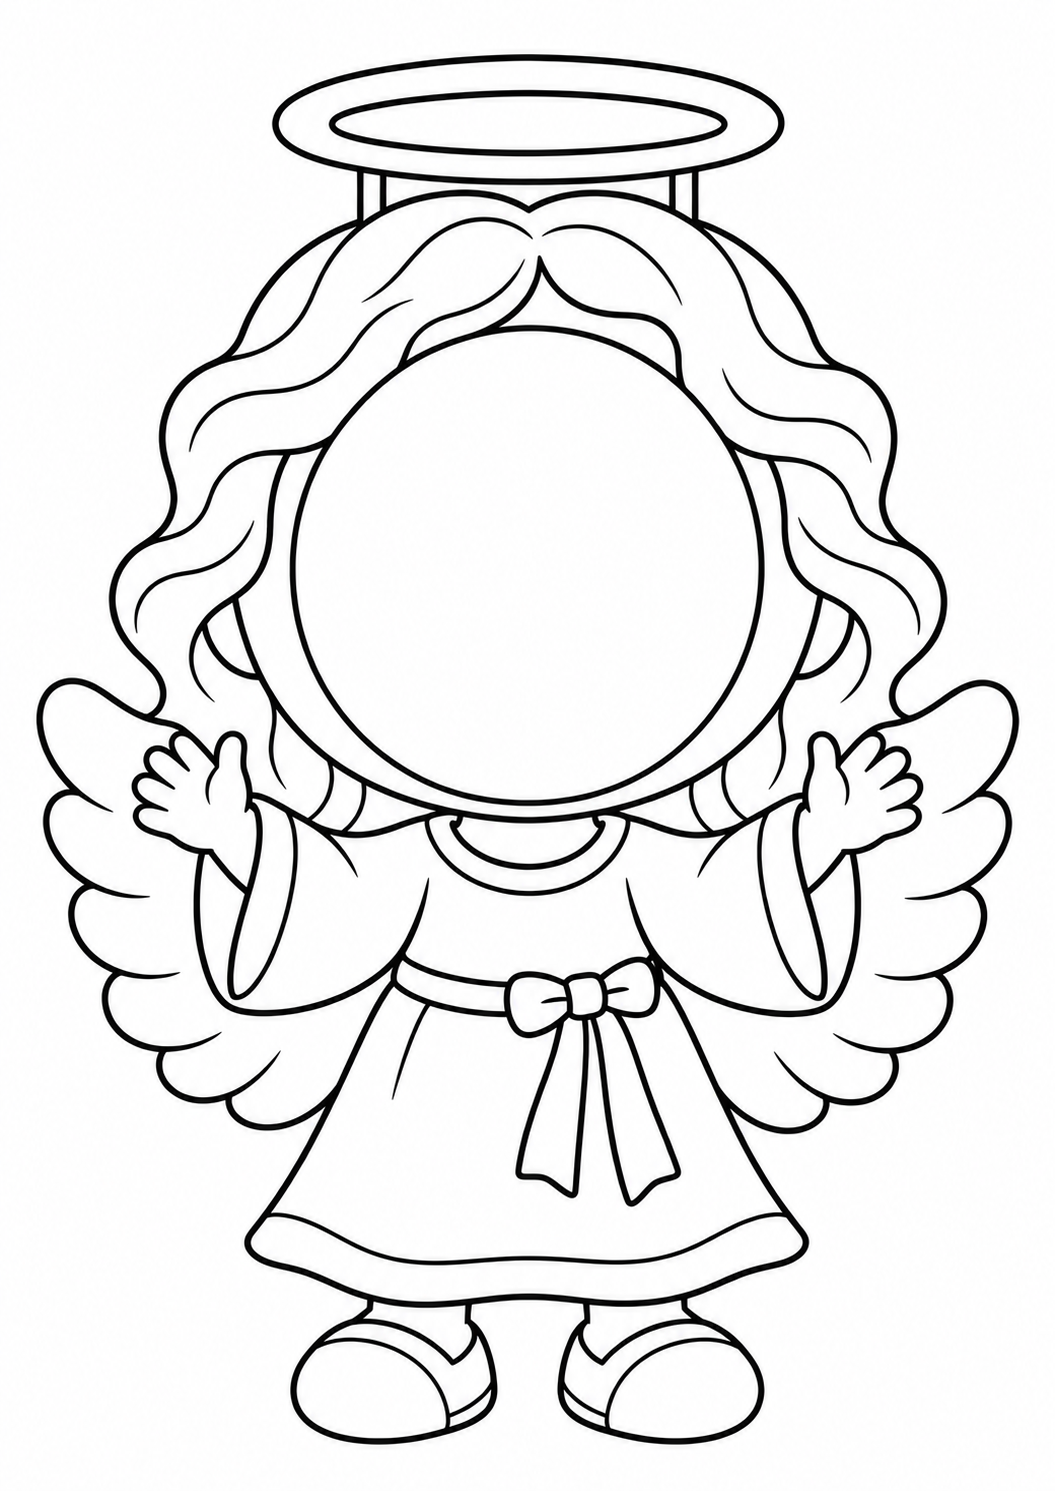
| Template | Festive details |
|---|---|
| Santa Claus | Santa hat, fluffy beard, belt, and boots |
| Mrs. Claus | Festive bonnet, dress, and apron |
| Reindeer | Antlers, ears, scarf, and a bell |
| Christmas Elf | Pointed hat, striped stockings, and curled shoes |
| Snowman | Top hat, scarf, buttons, and twig arms |
| Gingerbread Person | Icing details and a bow tie |
| Christmas Penguin | Santa hat, scarf, and raised flippers |
| Polar Bear | Winter hat, scarf, and a cozy sweater |
| Christmas Angel | Halo, wings, and a flowing robe |
| Christmas Tree Character | Star, ornaments, mittens, and boots |
All designs have clear black outlines and white spaces for children to color. The face area stays blank so you can add each child’s photograph.
Materials You Will Need
Gather these supplies before starting:
- Printed Christmas photo craft templates
- White paper or lightweight cardstock
- Crayons, colored pencils, or markers
- Printed photographs of the children
- Child-friendly scissors
- Glue stick or tape
- Removable adhesive for displaying the finished crafts
Choose clear, front-facing photographs. Print a test photo first to check that the face fits the opening in your chosen template.
How to Make Your Christmas Photo Craft
1. Choose and Print a Template
Let each child choose a favorite Christmas character.
Print on A4 paper in portrait orientation and select “Fit to Page” in your printer settings. Check the preview to make sure the hat, hands, and feet are fully visible.
Lightweight cardstock can help the finished decorations hold their shape.
2. Color the Character
Invite children to color the clothing and accessories. They can use traditional Christmas colors or invent their own festive combinations.
Keep the circular face area blank, as this section will be removed.
3. Cut Around the Outside
Cut along the character’s outer outline, keeping the hat, arms, body, and feet attached.
Younger children may need help with antlers, wings, or other curved details.
4. Cut Out the Face Opening
An adult should help remove the white circular section inside the head. Keep the surrounding outline intact to form a frame for the photograph.
For a simpler option, leave the opening uncut and glue a trimmed photograph directly over the white space.
5. Add the Photograph
Position the photograph behind the opening and adjust it until the child’s face is centered.
Attach it with tape or glue around the back of the frame. Trim away any photo edges that extend beyond the character.
6. Display Your Christmas Characters
Your personalized Christmas craft is ready!
Add the child’s name and the year on the back before displaying it or sending it home.
Christmas Classroom Display Ideas
A Window Full of Christmas Friends
Arrange the characters on a classroom window with paper snowflakes between them. Use removable adhesive suitable for the surface.
“Our Merry Little Class” Bulletin Board
Create a class display featuring every child’s photo craft. Mix the characters together so each student’s choice becomes part of the decoration.
A Personalized Christmas Garland
Attach the finished crafts to ribbon using small clips. Hang the garland across a display board where children can admire their work.
A Holiday Keepsake for Families
Send each craft home with a short Christmas message. Families can display it on a door, wall, or refrigerator.
Ways to Adapt the Activity
For preschoolers: Prepare the photographs and cut out the face openings in advance. Let children focus on coloring and help them assemble their characters.
For kindergarten: Encourage children to cut the larger outer shapes, with adult support for tricky sections.
For first and second grade: Add a short writing activity. Children can complete a sentence such as:
- “My Christmas character is a…”
- “My favorite thing about Christmas is…”
- “I would like to spread kindness by…”
These sentences can be displayed beside the finished crafts.
Frequently Asked Questions
Are the templates already colored?
No. All 10 templates are black and white so children can color them themselves.
Is each character on a separate page?
Yes. Each design is a separate image arranged for A4 portrait printing.
Can I use these without photographs?
Yes! Children can draw their own faces inside the blank circles. Leave the center intact if you choose this option.
What size photograph should I print?
Use the face opening on the printed template as your guide. The visible face should fit inside the circle, while the photograph itself should extend slightly beyond the opening so it can be attached securely from behind.
Can I print on US Letter paper?
Choose US Letter in your printer settings and select “Fit to Page.” Check the print preview, as the template may print slightly smaller.
Make Your Own Christmas Photo Friends
Choose a character, gather your coloring supplies, and turn a simple photograph into a festive decoration!

These 10 Christmas photo craft templates offer a creative activity for the classroom or home, with a personalized result children can proudly display.