10 Halloween Hanging Paper Crafts for Kids – Color, Cut, Fold & Decorate!
Turn a simple coloring activity into cheerful Halloween classroom decorations! These 10 Halloween hanging paper craft templates let kids color friendly characters, cut out the shapes, and fold them into playful accordion decorations.
With smiling pumpkins, silly monsters, and friendly ghosts, this collection brings a little Halloween fun to preschool, kindergarten, and crafting at home.
What’s Included?
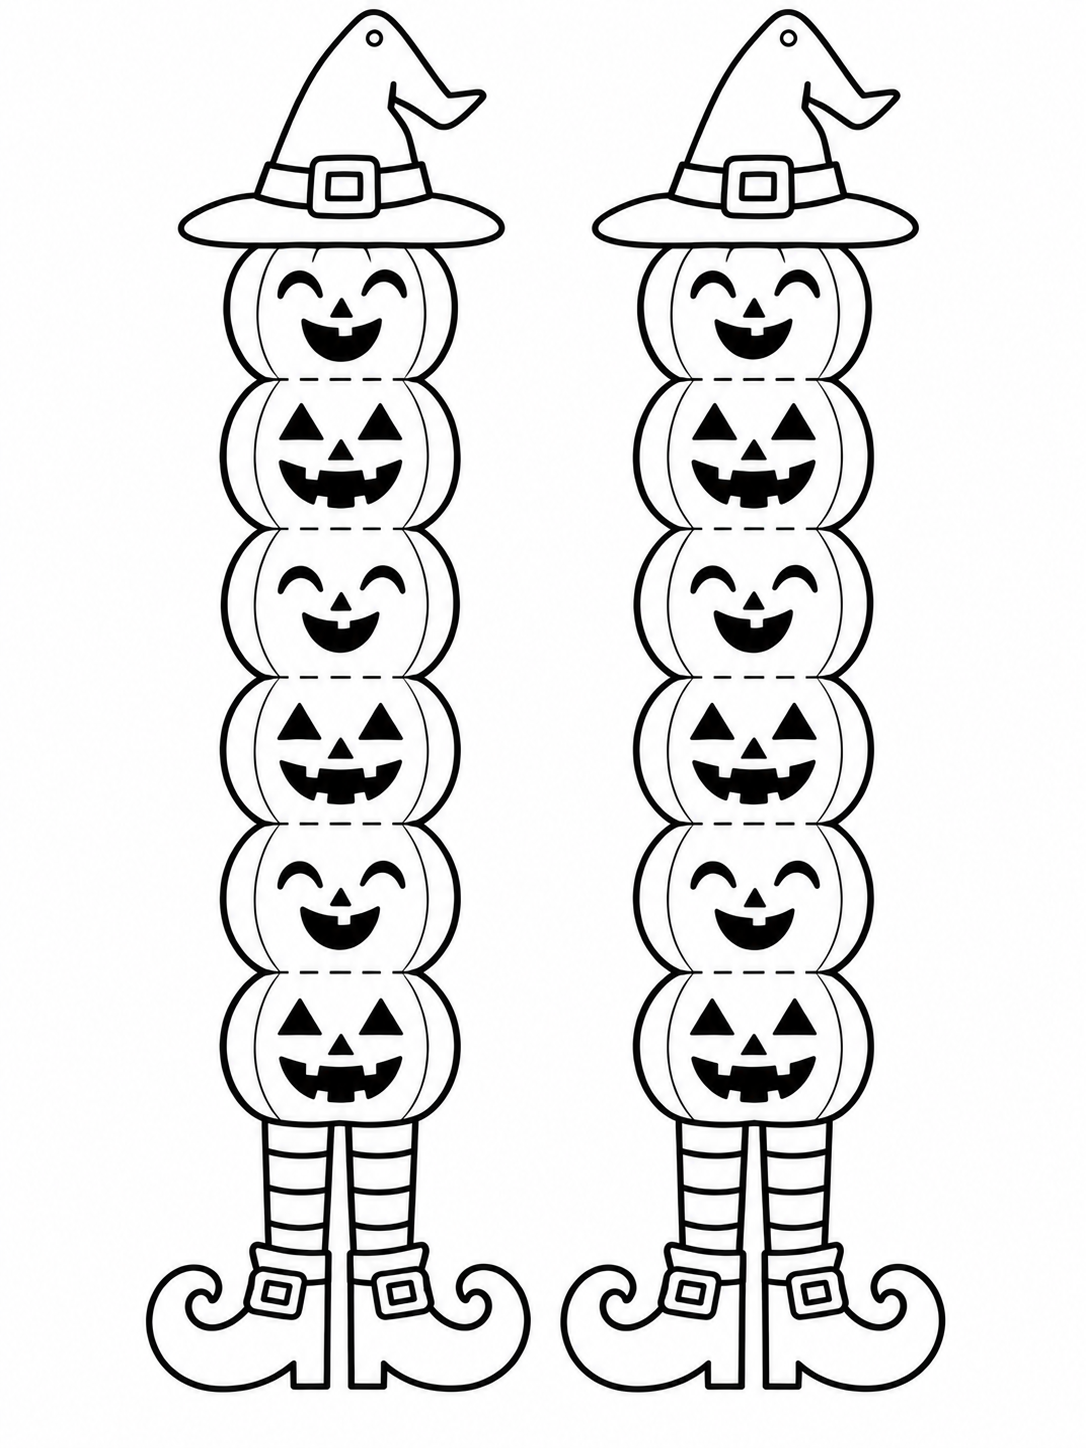
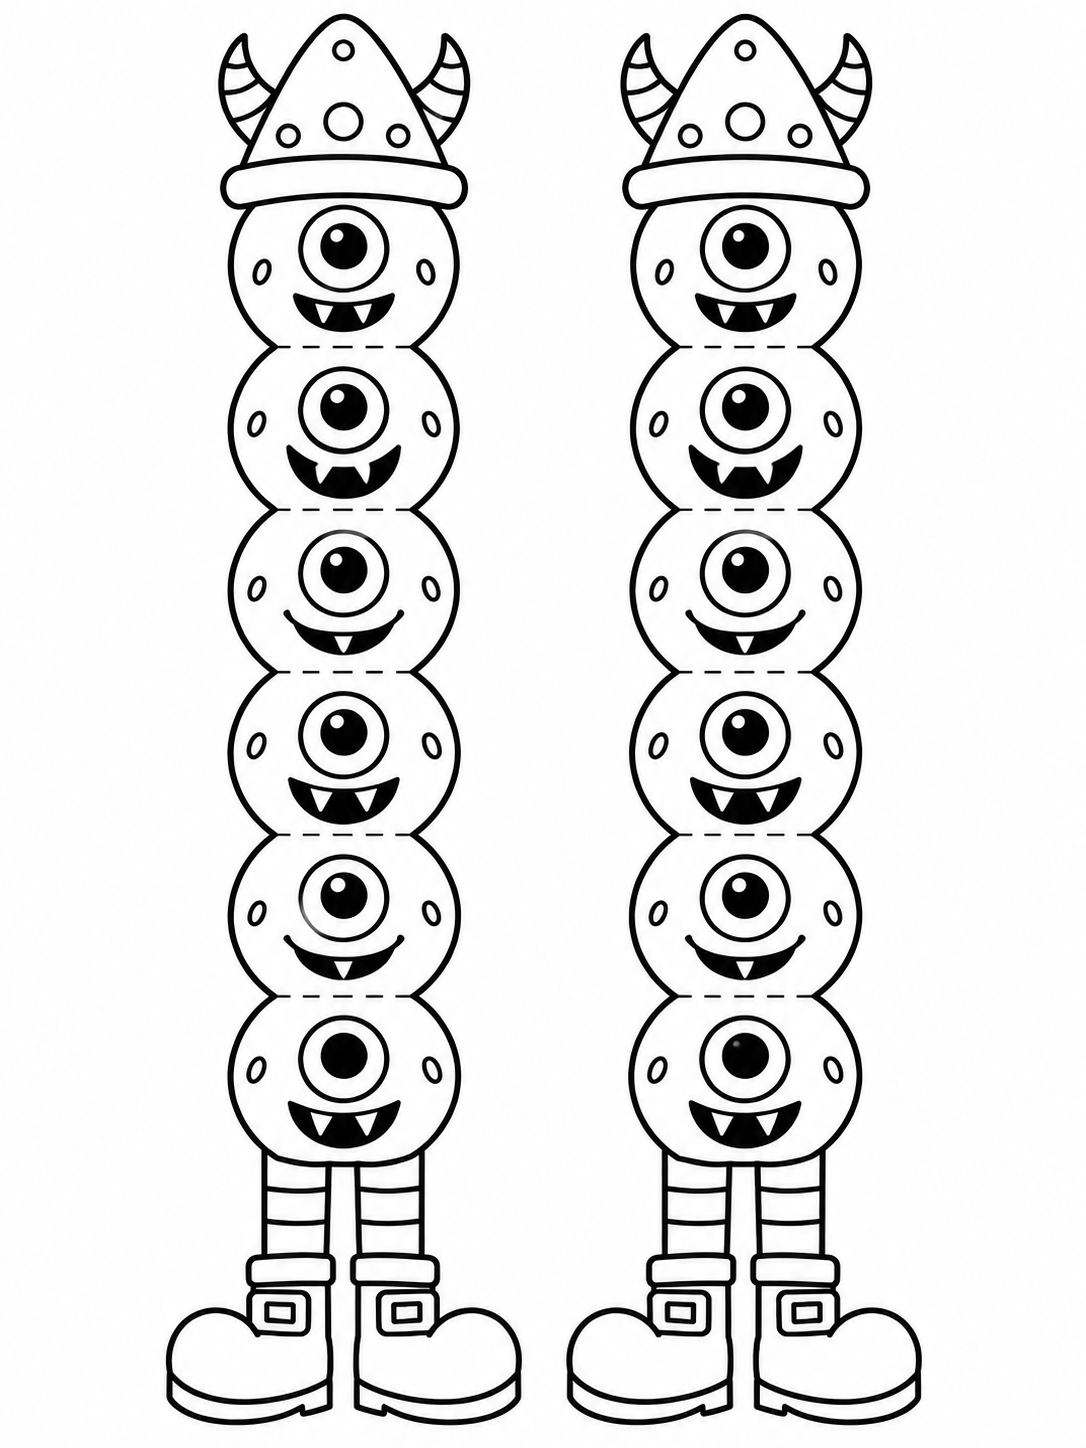
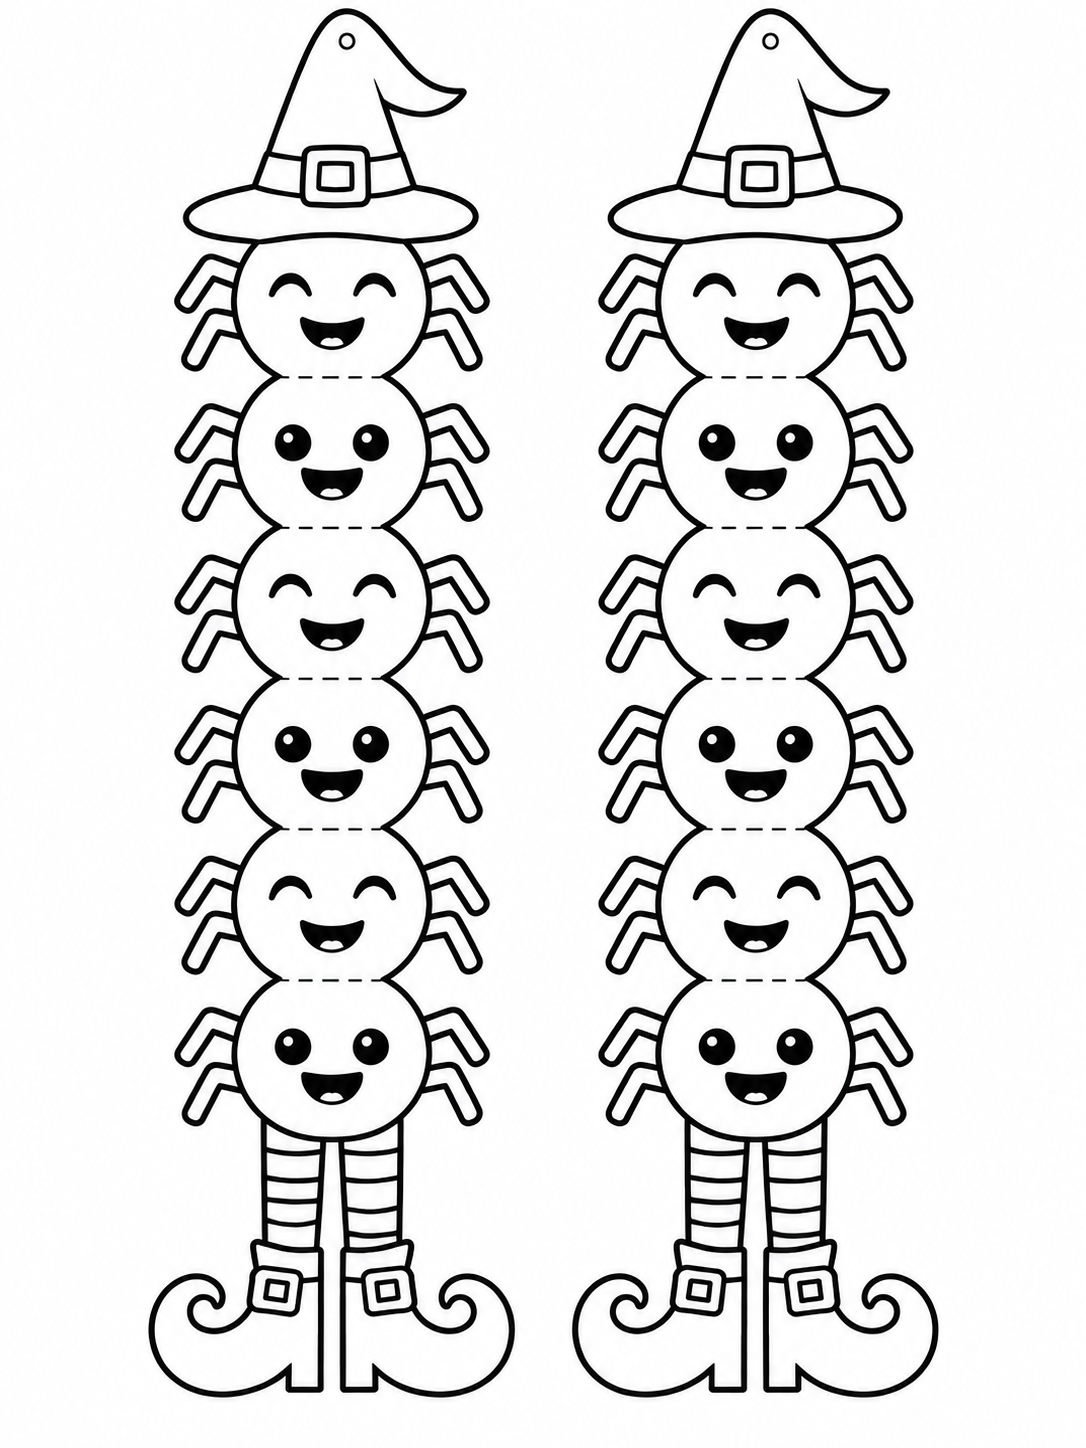
The collection features 10 black-and-white designs, with two matching hanging crafts on each page:
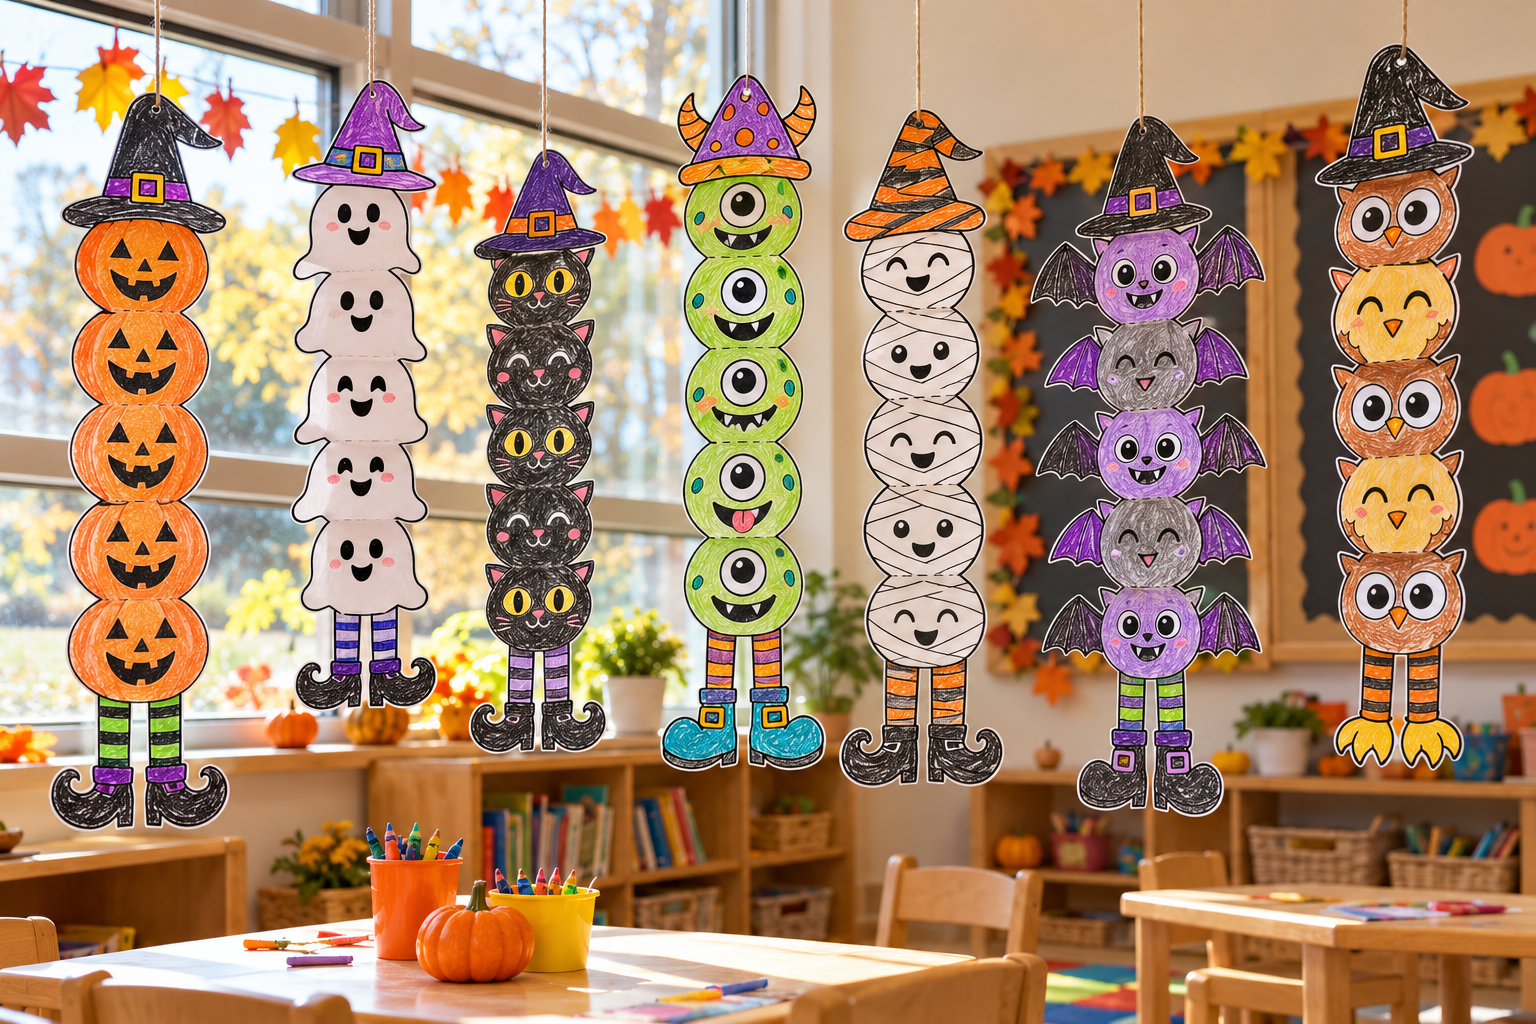
- Pumpkins wearing witch hats
- Friendly ghosts
- Halloween cats
- Cute bats
- Frankenstein monsters
- Mummies
- Smiling skulls
- Friendly spiders
- One-eyed monsters
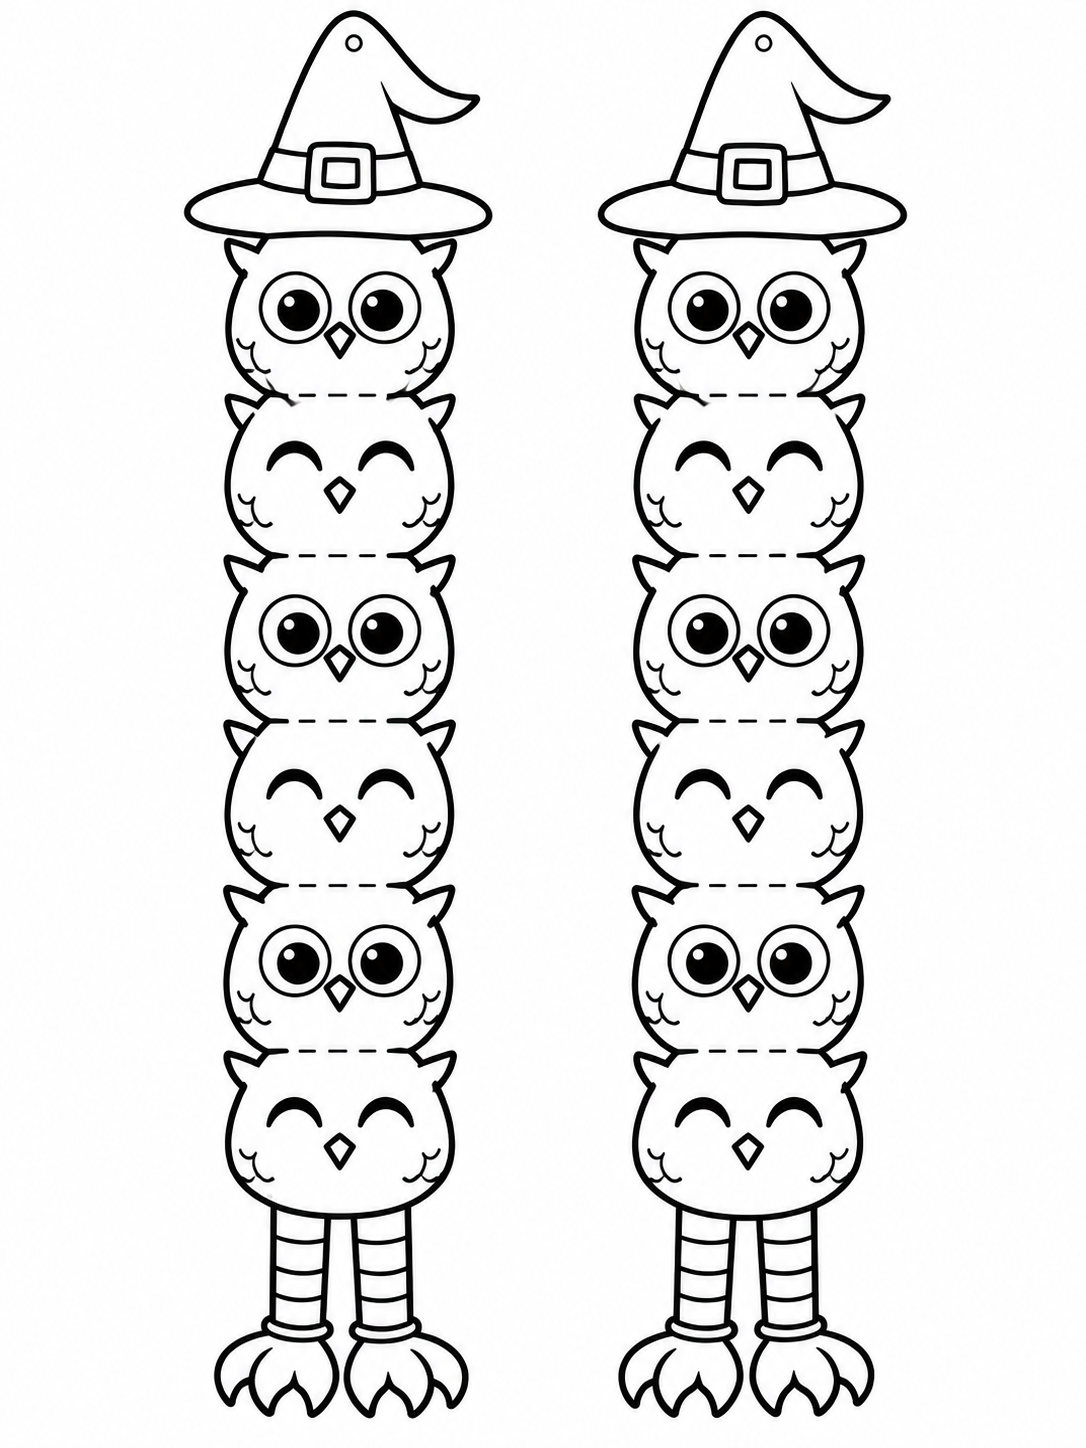
- Owls wearing witch hats
Each craft has a long, connected body with character faces, a hat at the top, and feet at the bottom. Dashed lines show where to fold.
The uncolored designs give children plenty of room to choose their own colors and patterns.
Supplies You’ll Need
- Printed templates
- Crayons, colored pencils, or markers
- Child-safe scissors
- A hole punch
- String or yarn
- Optional lightweight cardstock for sturdier decorations
How to Make Your Halloween Hanging Crafts
1. Print Your Favorite Designs
Choose a template and print it on white paper or lightweight cardstock. Select “Fit to printable area” when printing on US Letter or A4 paper, and check that the entire outline is visible.
2. Color the Characters
Let kids decorate their characters however they like! Try orange pumpkins, purple bats, green monsters, or colorful striped stockings.
Coloring before cutting makes the page easier for little hands to manage.
3. Cut Around the Outside
Carefully cut around the outer edge of each long character strip.
Keep all the body sections connected. Do not cut across the dashed lines. Younger children may need help with small details around hats, wings, and feet.
4. Fold Along the Dashed Lines
Fold the connected sections back and forth along the dashed lines, alternating directions to make an accordion shape. Gently open the folds so the faces remain visible when hanging.
5. Add a Hanging String
Punch the marked hole near the top, thread a short piece of yarn through it, and tie a loop. An adult can help with punching and hanging.
Fun Ways to Use the Finished Crafts
Display the finished characters along a classroom window, on a bulletin board, or across a Halloween craft display. They also make a fun decoration for a reading corner or a Halloween party.
For a group project, invite each child to decorate one strip. Hang the finished pieces together to create a display full of different colors and personalities!
A Creative Activity for Little Hands
This project gives children opportunities to practice:
- Fine motor control through coloring and folding
- Scissor skills by following an outline
- Following directions through a simple sequence
- Creative expression through color and pattern choices
The templates are suitable for children ages 4–8, with adult support adjusted to each child’s cutting and folding skills.
Ready to Make Your Halloween Decorations?
Choose your favorite characters, gather your coloring supplies, and get crafting. With a little coloring, cutting, and folding, kids can turn these printable pages into Halloween decorations they’ll be proud to display!