Printable Halloween Paper Chain Crafts: 8 Cute Characters for Kids
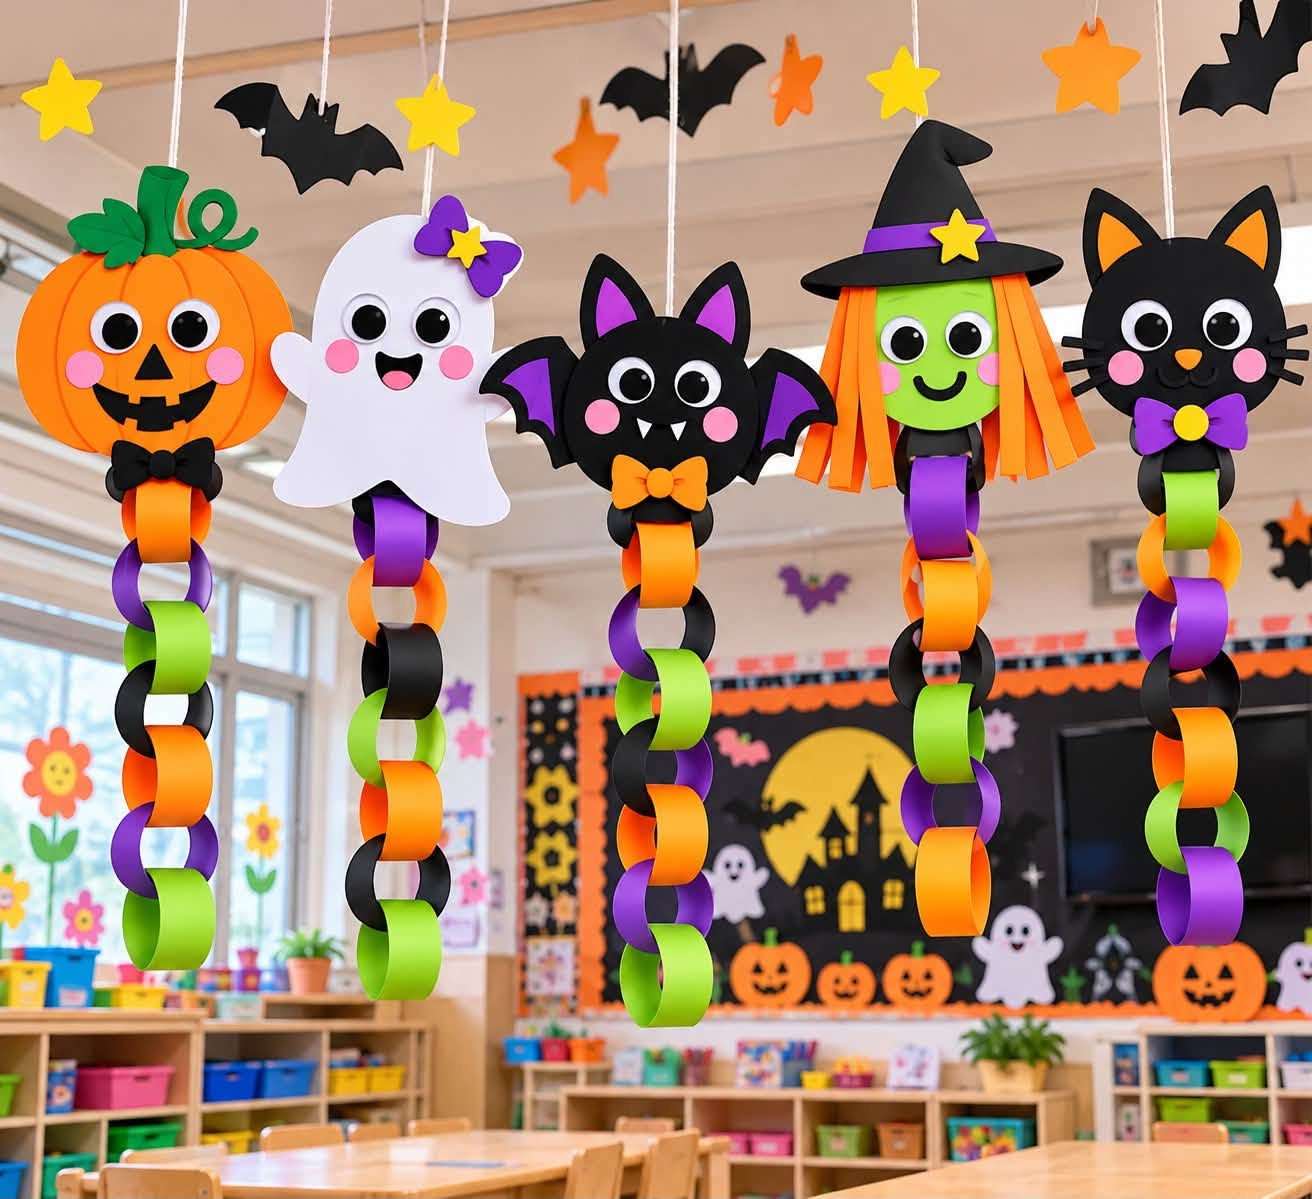
Bring some friendly Halloween fun to your classroom or home with these colorful Halloween paper chain crafts! Kids can cut out their favorite characters, add paper chain bodies, and turn them into cheerful hanging decorations.
With smiling faces and bright Halloween colors, these printable characters are a fun choice for a classroom craft station, an afternoon activity, or a family decorating project.
What’s Included?
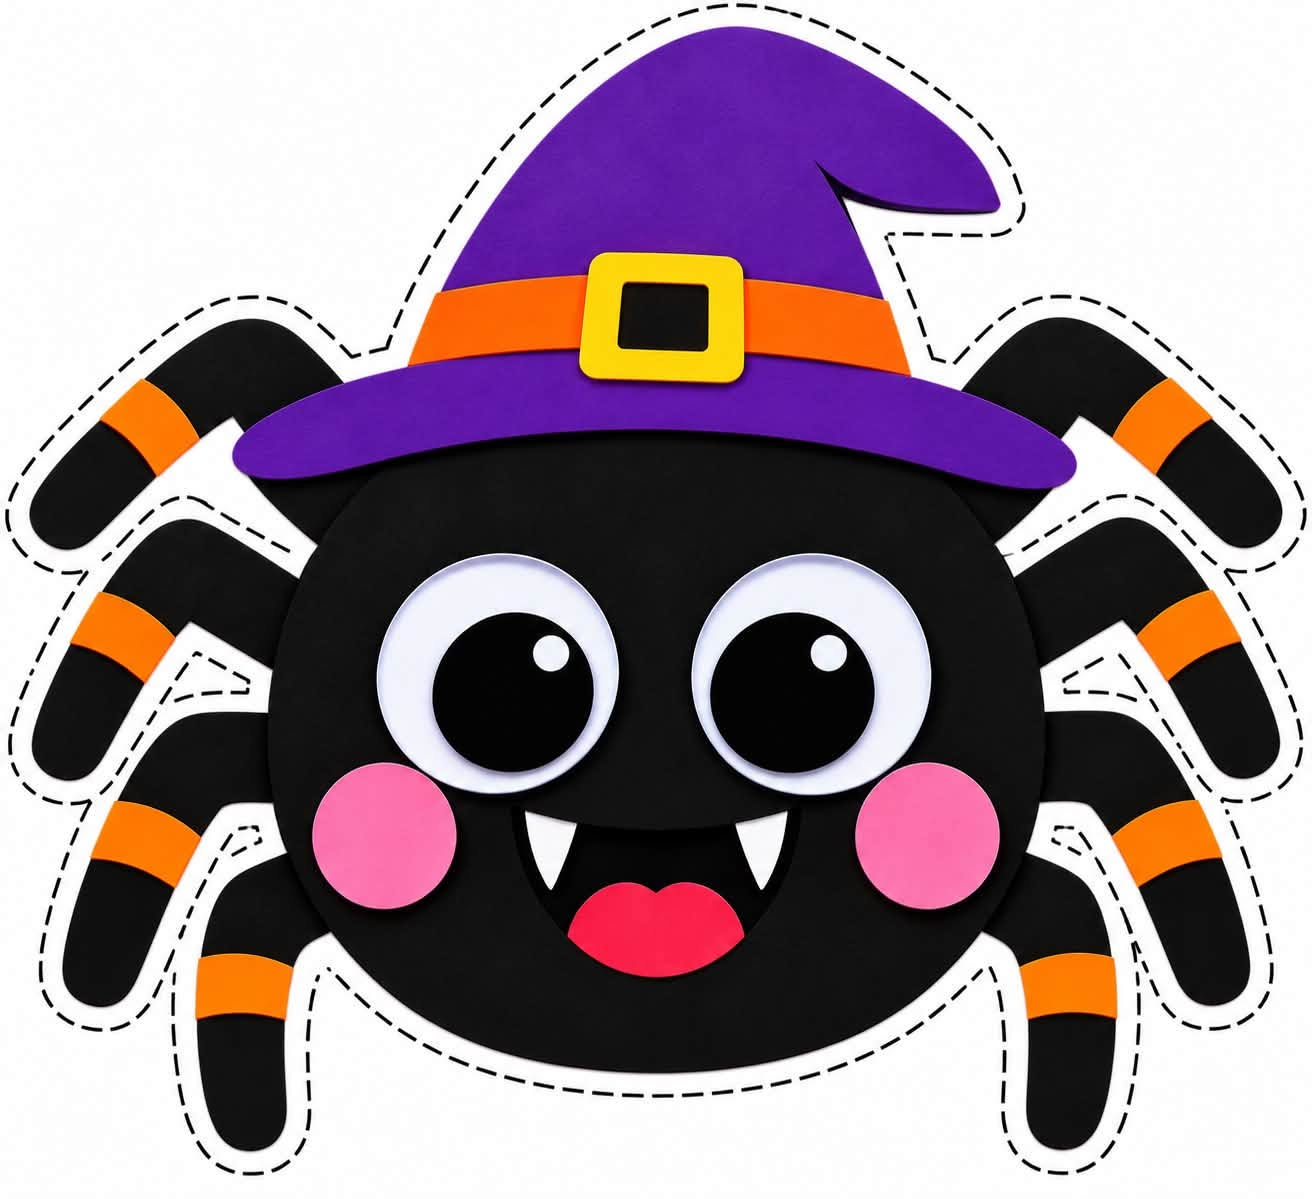
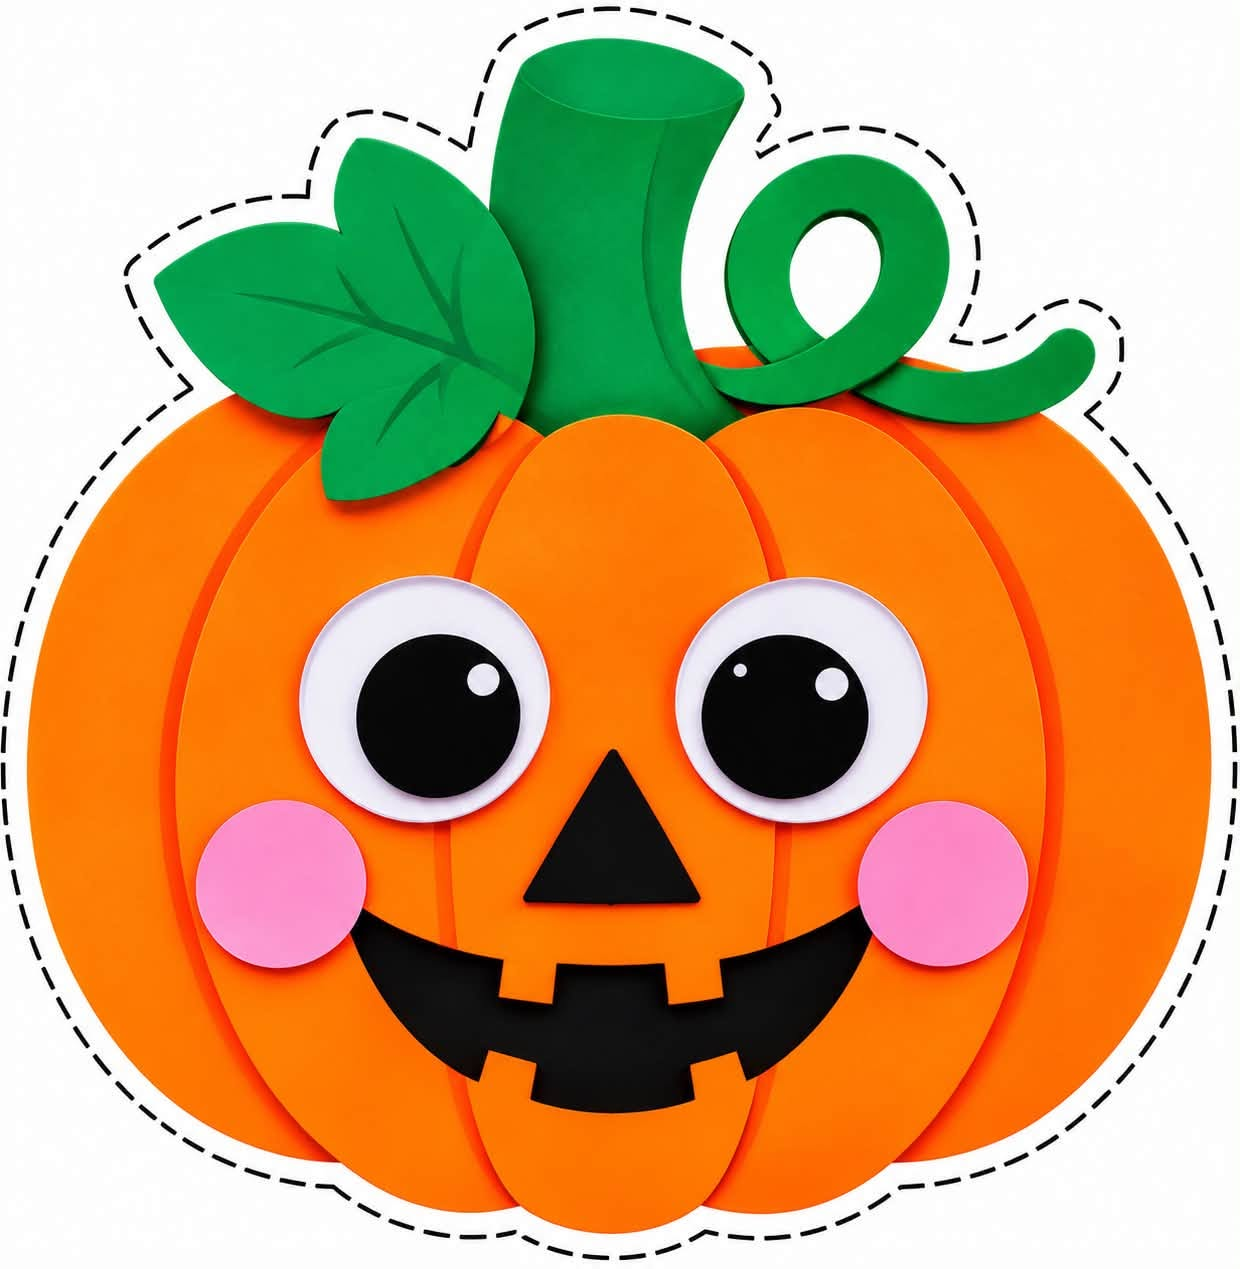
The printable PDF contains 8 full-color character templates, with one character per page:
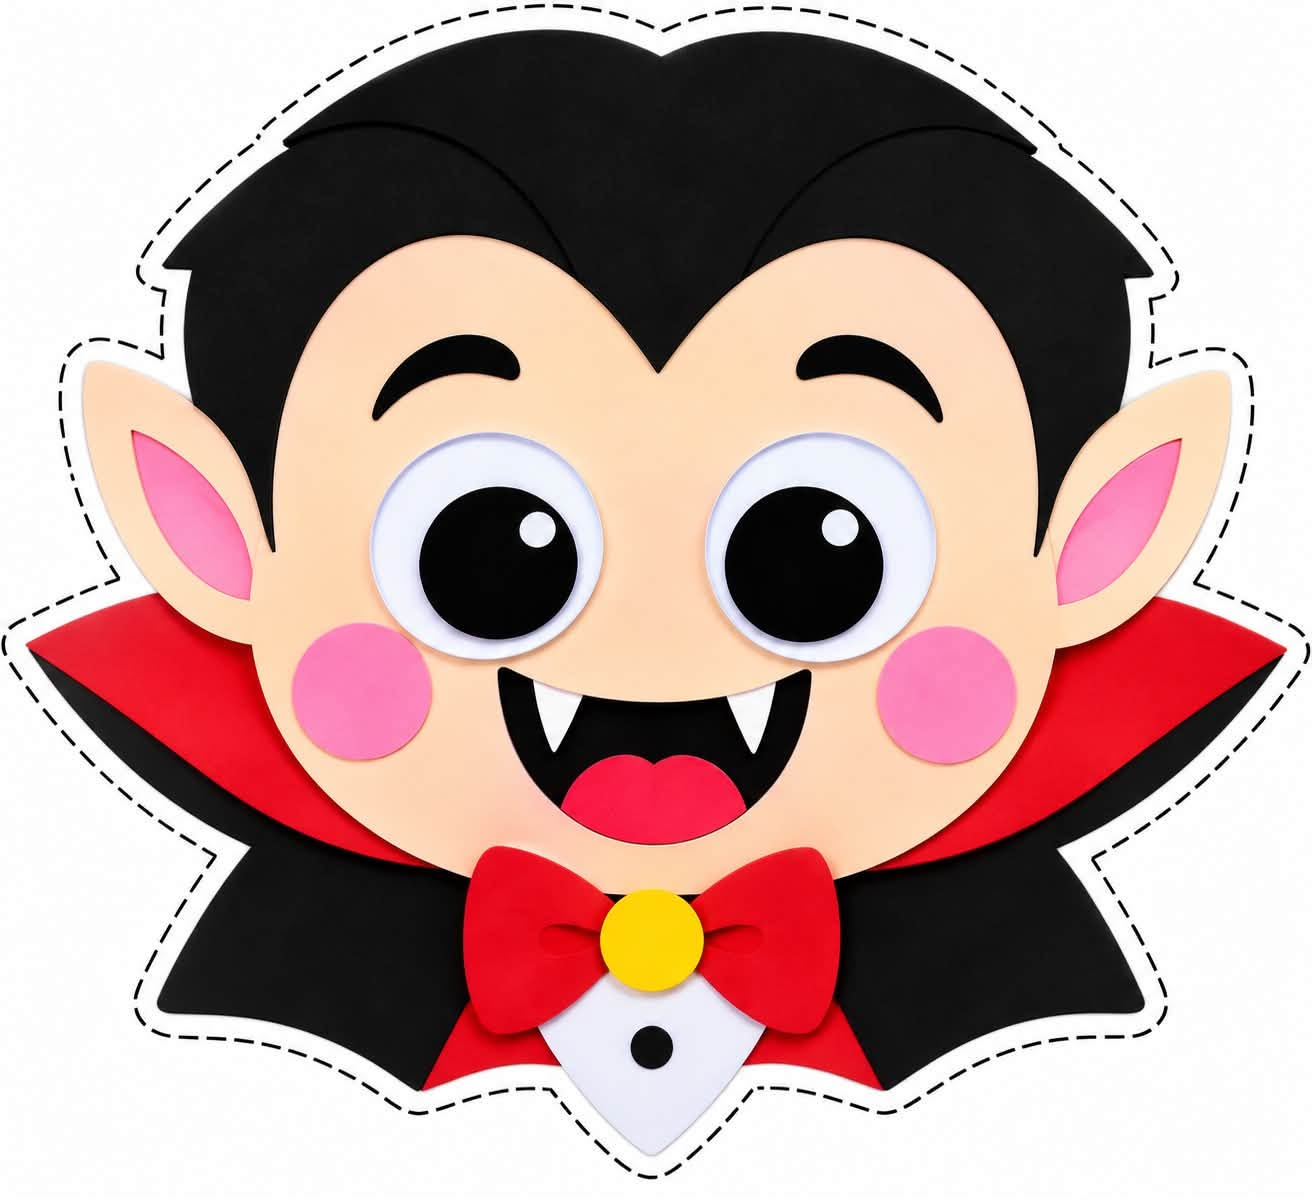
- A smiling vampire
- A spider wearing a witch hat
- A cheerful pumpkin
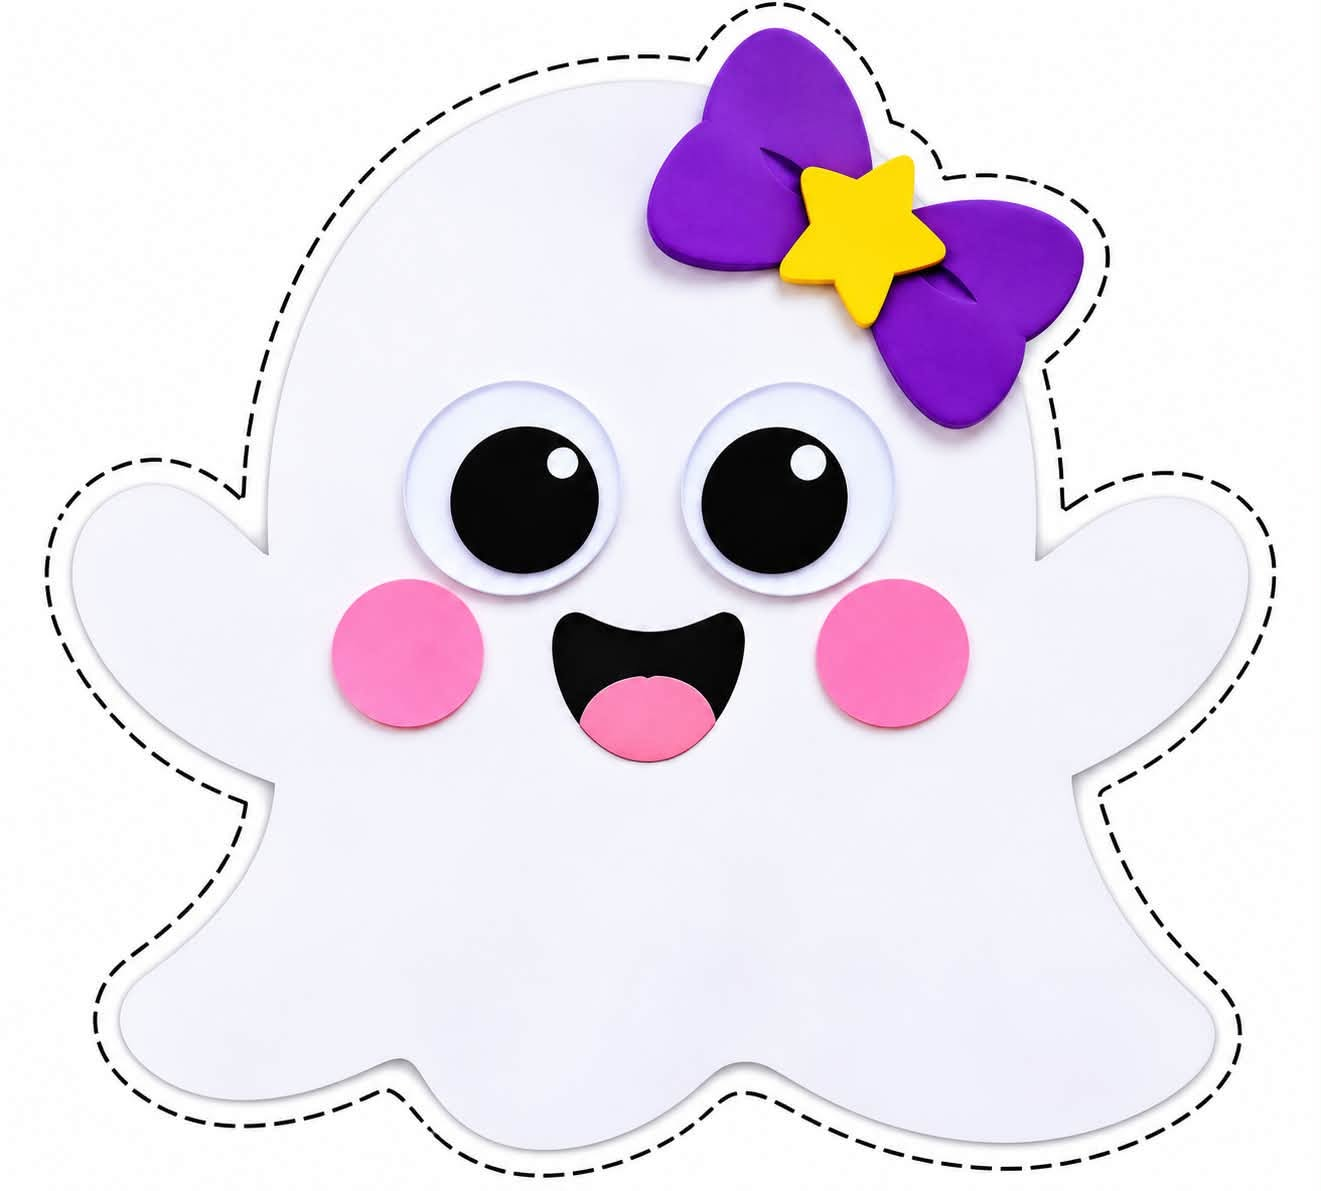
- A ghost with a purple bow
- A friendly witch
- A black cat
- A green Frankenstein-style monster
- A bat with an orange bow
An additional page shows a classroom display to inspire your finished decorations.
The templates include dashed cutting outlines and come in US Letter and A4 formats.
Supplies You’ll Need
Gather a few simple craft supplies before you begin:
- Printed Halloween templates
- White cardstock or printer paper
- Colored construction paper
- Child-safe scissors
- Glue sticks or tape
- String or ribbon for hanging
Cardstock works well for the character faces, while lightweight construction paper makes the chain links easy to fold.
How to Make Your Halloween Paper Chain Decorations
1. Print Your Favorite Characters
Choose the US Letter file for 8.5 × 11-inch paper or the A4 file for A4 paper. Print in color and select Actual Size or 100% in your printer settings.
2. Cut Out the Character
Carefully cut around the dashed outline. Younger children may need an adult’s help with small curves and detailed shapes.
3. Prepare the Paper Strips
Cut colored construction paper into strips approximately 1 inch wide and 6 inches long.
Try orange and green for the pumpkin, purple and black for the bat, or a mix of Halloween colors for any character.
4. Make the Paper Chain
Bend one strip into a loop and glue or tape the ends together. Thread the next strip through the first loop, then secure its ends.
Repeat until the chain reaches your preferred length. Five to eight links make a good starting point.
5. Attach the Character
Secure the top chain link behind the bottom of the character using tape or a paper tab. Add a hanging loop behind the top of the character.
Your Halloween decoration is ready to display!
Fun Ways to Use These Printables
Decorate a classroom: Hang several characters along a bulletin board or classroom wall.
Make a Halloween countdown: Create a chain with one link for each day remaining until Halloween, then remove one link each day.
Practice patterns: Invite children to make repeating color sequences, such as orange–purple–orange–purple.
Add a counting activity: Ask children to count their links or compare which chain is longer.
Create together: Let each child choose a character and combine the finished crafts into one group display.
A Simple Cut-and-Glue Activity
This project gives children opportunities to practice cutting, folding, gluing, and following a sequence. Choosing colors and arranging links also leaves room for creativity.
For younger children, prepare the paper strips in advance so they can focus on making the loops. Older children can measure and cut their own strips.
Download the Halloween Craft Templates
Choose the file that matches your paper size:

Each PDF includes 8 character pages plus 1 display inspiration page. The colored paper strips for the chains are prepared separately.
Print your favorites, gather your craft supplies, and make a colorful Halloween display together!